Photo Pose for Bike

Bike photo poses need a parked-safe setup, clear hands, and enough spacing so the bicycle reads without taking over the frame.

Photo Pose for Bike bike-side standing pose pose reference
01Bike-side standing pose
Photo Pose for Bike seated beside bike pose reference
02Seated beside bike
Photo Pose for Bike wide bike walk pose reference
03Wide bike walk
01

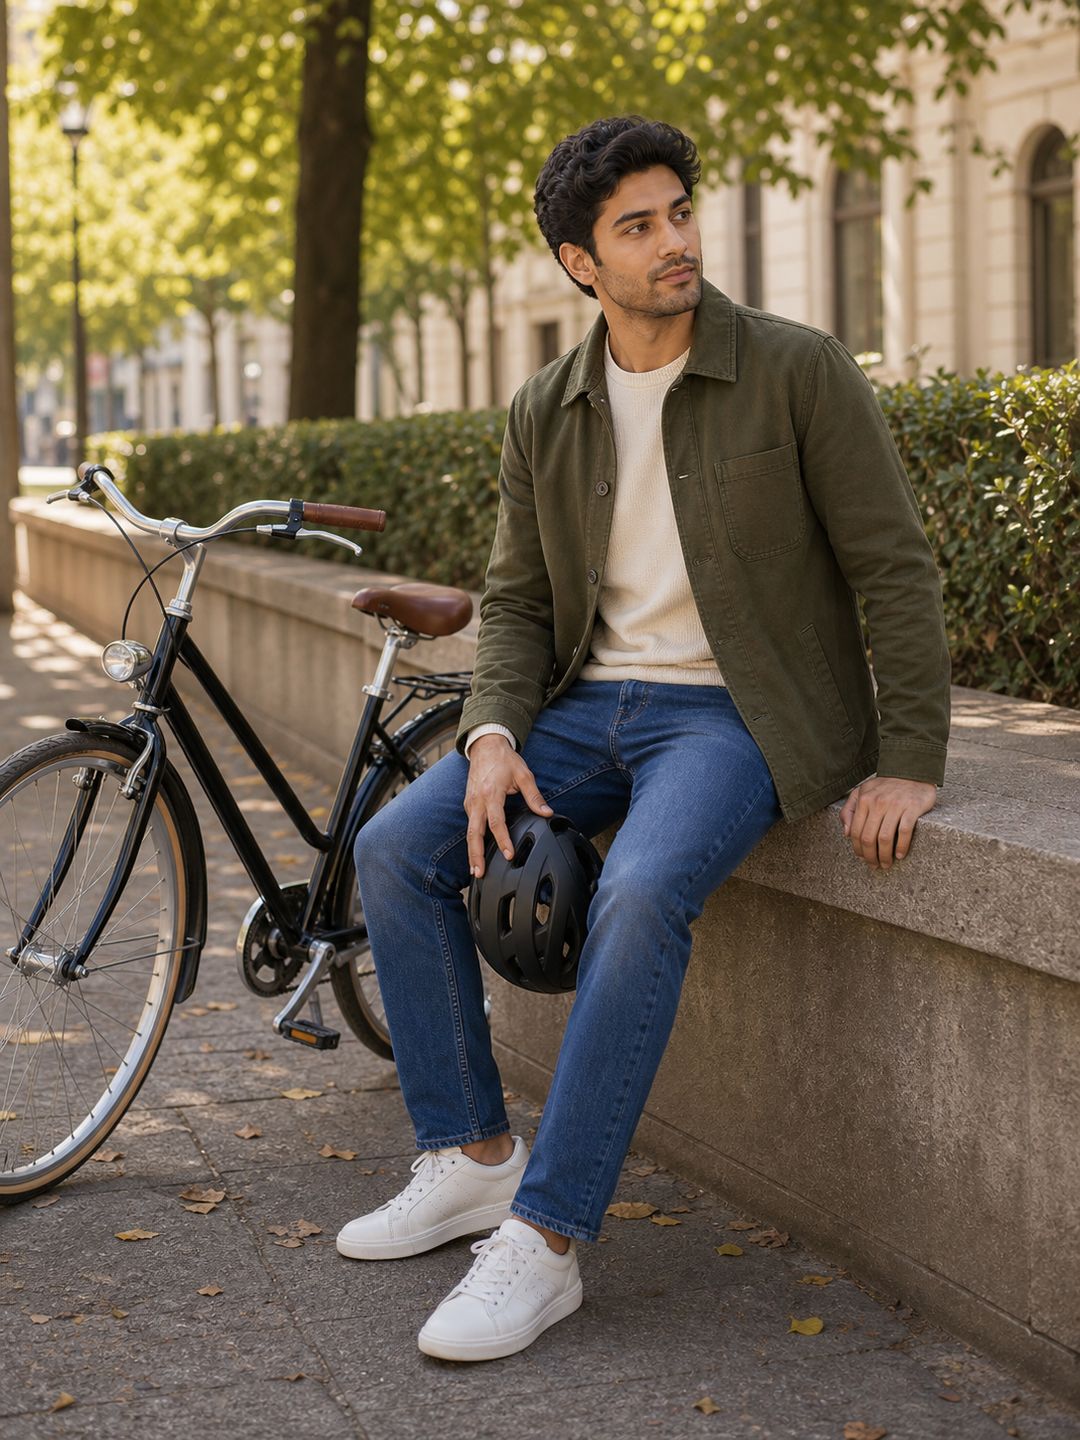
Set the body line first

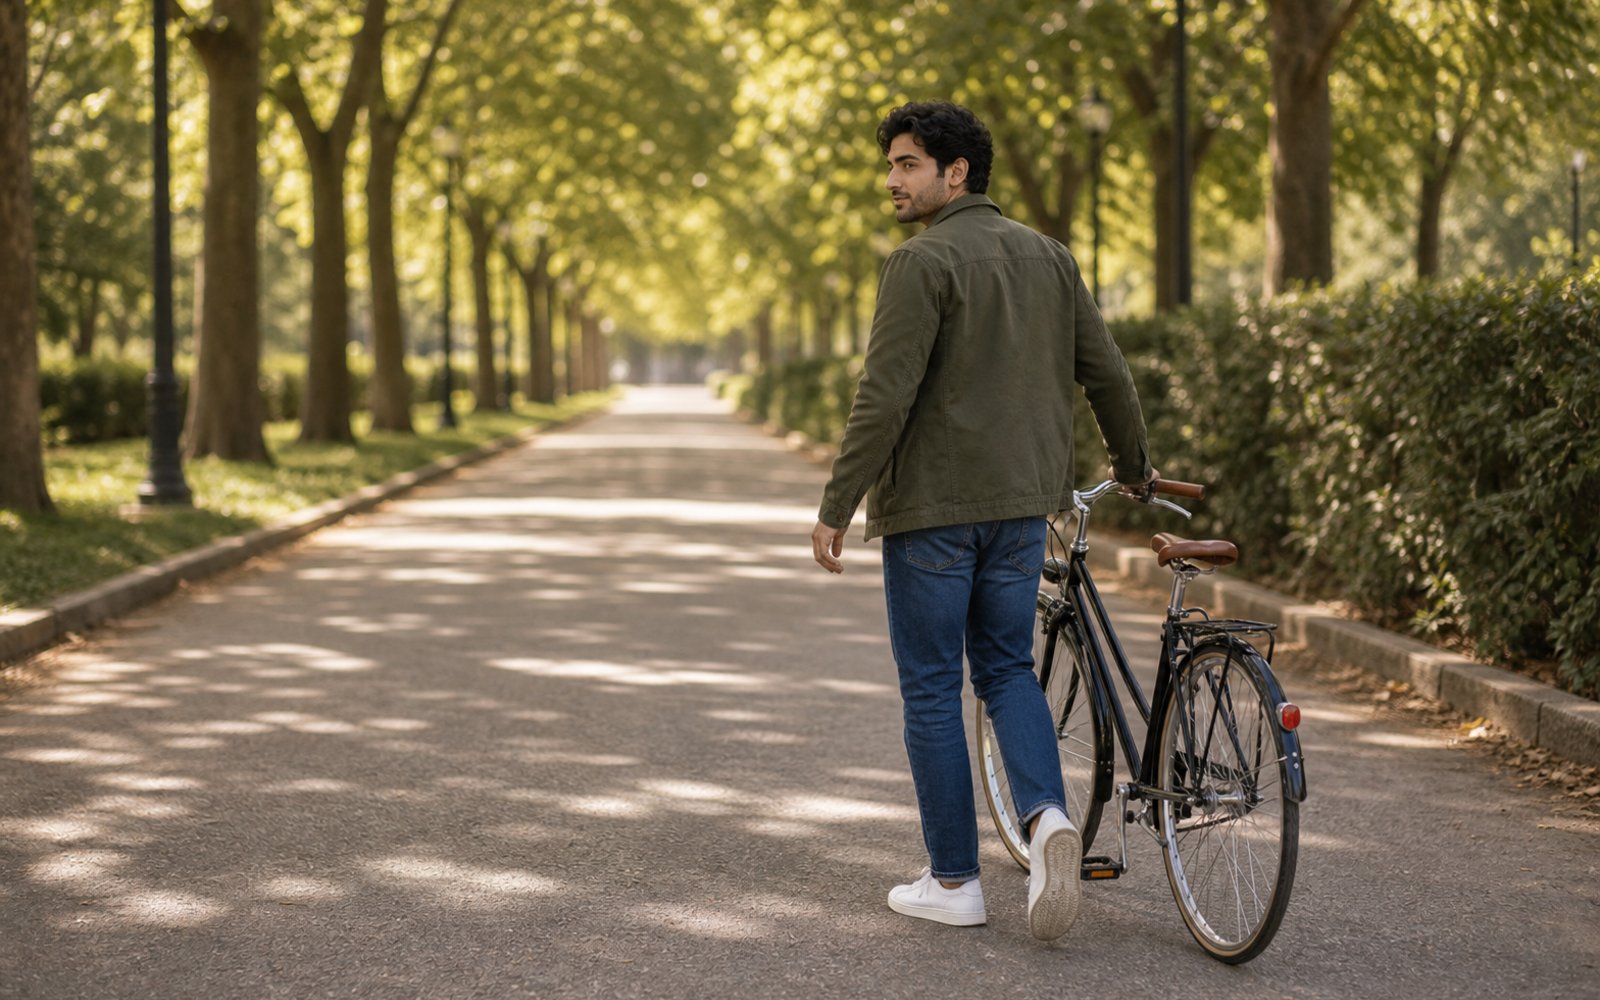
For bike photo poses, decide weight shift, shoulder angle, and spacing before expression.

02

Give every hand a job

Use pockets, fabric, props, edges, safe support, or gentle connection so hands have a reason.

03

Face the clean light

Turn faces toward window light, open shade, or soft practical light before making the final frame.

04

Protect the crop

Leave room around heads, hands, elbows, outfit lines, props, and feet whenever pose mechanics matter.

Pose references

Each image is a practical pose reference for taking a real photo. Copy the body direction first, then adjust hands, eyes, and frame for the person and location.

Photo Pose for Bike bike-side standing pose pose reference
Path

Bike-side standing pose

A vertical bike pose with clear hand placement.

Stance
stand three-quarter beside the bike with one foot forward
Hands
rest one hand on handlebar and one on pocket or jacket
Eyes
look toward side light then camera
Frame
keep face, hands, outfit, shoes, and bike visible
Photo Pose for Bike seated beside bike pose reference
Seat

Seated beside bike

A vertical bike pose with natural levels.

Stance
sit near the edge with bike parked beside you
Hands
use helmet, handlebar, knee, or bench edge as hand anchors
Eyes
look just past camera
Frame
include bike, hands, seat, and shoes
Photo Pose for Bike wide bike walk pose reference
Walk

Wide bike walk

A horizontal bike image with gentle movement.

Stance
walk slowly while holding the bike beside you
Hands
use handlebar and natural arm swing
Eyes
look ahead then back to camera
Frame
leave space ahead and keep the bicycle readable

Camera notes

Use these notes as the technical layer behind the pose: lens choice, light, spacing, timing, and the mistake to avoid.

LensUse 35mm when location or group spacing matters and 50mm when face shape and posture matter more.
LightPlace the subject toward the cleanest soft light first; change pose only after the face reads clearly.
HandsAssign every hand an anchor before varying expression, eye line, or camera height.
MistakeDo not reuse a generic image if the subject, setting, or action does not visibly match bike photo poses.